How to Make a Trophy by Recycling a Plastic Bottle
How to Make a Trophy by Recycling a Plastic Bottle
7 easy steps to turn an ordinary plastic bottle into an innovative cycled trophy!

We love projects that encourage recycling, especially when the inspiration comes from recycling bin! All you need for this project is an empty plastic bottle and some paint. Soon you’ll have an amazing, sparkling trophy to use as a special incentive in your classroom. Your students are going to love the chance to win this!
What You Need
- Plastic bottle
- Nail
- Pipe cleaners
- Low-temp glue gun
- Spray paint
- Glitter (if you dare)
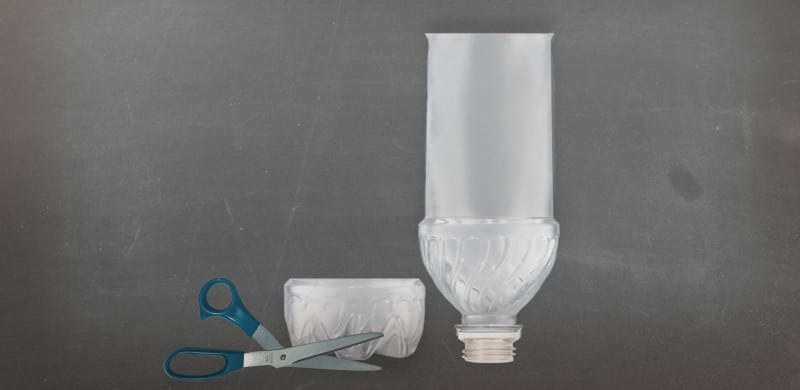
STEP 1
Remove the bottom of your plastic bottle.
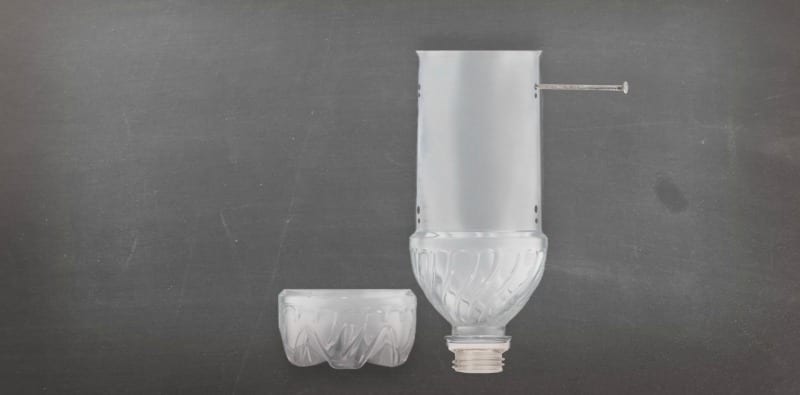
STEP 2
Punch two holes in each side of the plastic bottle (we used a nail), which will make your trophy’s handles.
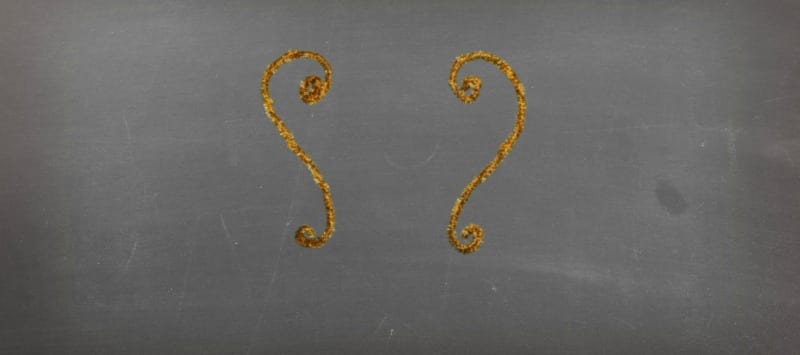
STEP 3
Twist two pipe cleaners together.
STEP 4
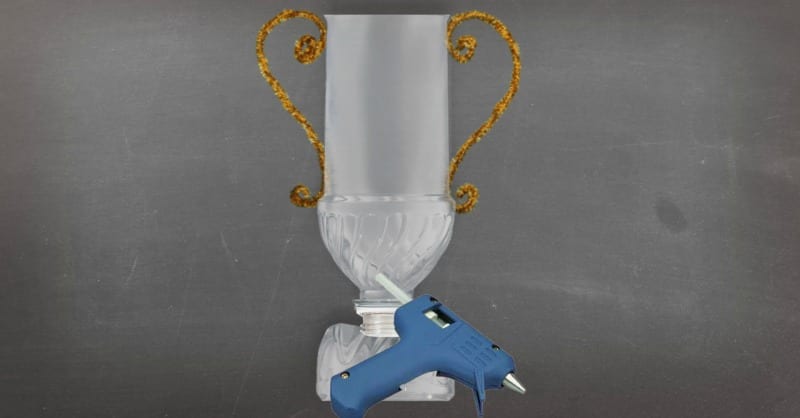
Insert pipe cleaners into the holes on each side of the bottle and secure by twisting the ends. Shape the handles as you see fit.
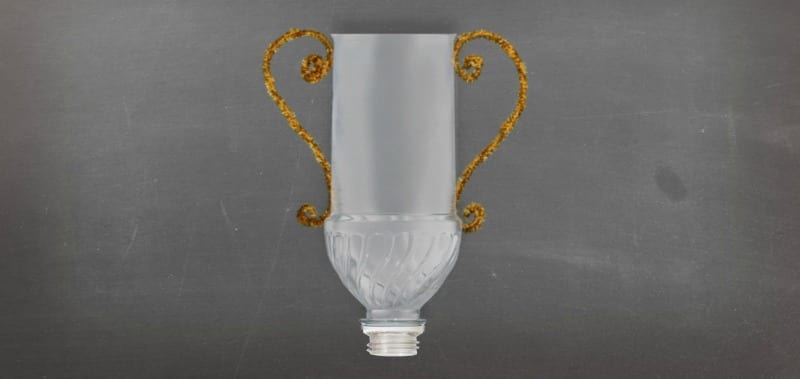
STEP 5
Place the mouth of the plastic bottle on the bottom of the bottle to create a trophy base. Secure with low-temp glue gun. (You want to use low-temp so you don’t melt the bottle.)
STEP 6
If desired, paint bottle with spray paint.
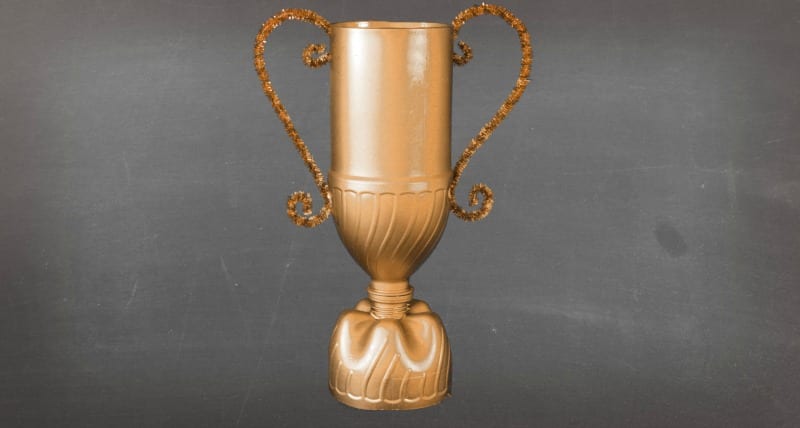
STEP 7
Once the paint has dried, add a light coat of spray glue. Immediately sprinkle bottle with some glitter.

Watch the magic come together on this project in our how-to video:


Comments
Post a Comment